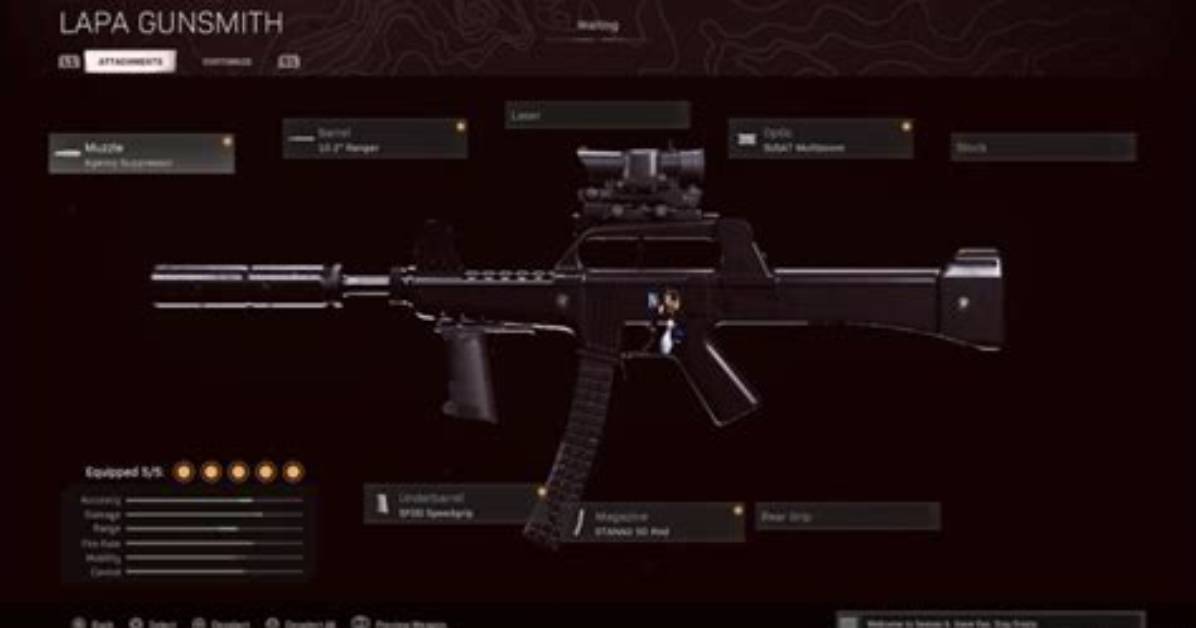
While most of the focus in Call of Duty: Warzone is currently on the new Vanguard weapons, one SMG in particular has quietly been on top for a while now. The OTs 9 was previously the king of SMGs and although it’s still excellent, the LAPA is better in many ways. It launched in October 2021, serving as the last Cold War SMG to be added to the game. For whatever reason, this weapon seems to have been overlooked by much of the community, as it’s quite rare to encounter a player using it. The thing is, it’s a versatile gun that can be built in a few different ways.
It’s an absolute beast of a weapon, especially on Rebirth Island. But how should you build it, and what kind of equipment should you bring along with it? These are the best loadouts for the LAPA SMG.
Recommended reading
LAPA overview
As always, let’s take a closer look at the LAPA, with details on how to use it effectively. The first thing to take into account is that the LAPA is highly effective past 11 meters, which is right around the distance that the OTs 9 stops being as effective. We’ll be comparing the LAPA to the OTs 9 a lot here, since it was previously the top dog of SMGs. Within 11 meters, the LAPA is still excellent and remains competitive against the OTs 9, with a negligible difference in time to kill (TTK) according to TrueGameData.
Aside from that, pretty much everything else about the LAPA is standard. It has a base reload time of 2.32 seconds, a base aim down sights (ADS) speed of 192ms, and a fire rate of 700RPM. The one other quirk with the LAPA is that its iron sights are pretty terrible, so you’ll always want to use an Optic of some kind unless you’re going with a hip-fire build. The iron sights tend to block much of the screen, which is a shame since it means you’ll almost always have to use an optic, but the rest of the weapon’s benefits make up for it.
These are the recommended builds.
Close-range
Recommended build:| Muzzle | Sound Suppressor |
| Barrel | 7.9″ Rifled |
| Laser | SWAT 5mW Laser Sight |
| Underbarrel | Bruiser Grip |
| Magazine | STANAG 50 Rnd |
| Slot 1 | Quick Fix |
| Slot 2 | Ghost |
| Slot 3 | Amped |
Of course, perk selection comes down to playstyle and preference, but we highly recommend Quick Fix if you’re an aggressive player. This gives you immediate health regeneration, which will no doubt come in handy if you’re in the midst of an enemy squad. After that, it’s hard to recommend anything but Ghost since it’s so useful in many situations. Remember, Ghost keeps you from appearing during enemy UAVs, as well as Heartbeat Sensors. If you’re confident in your skills, you can go with High Alert, but for most players, we recommend Ghost. For perk 3, there are a few good options, but for this build, we like Amped. This allows you to swap to your secondary weapon even faster.
Equipment
| Lethal | Throwing Knife |
| Tactical | Stun Grenade |
When it comes to equipment, you have several options at your disposal, but it’s hard to pass up Throwing Knives in the Lethal category. This is because you can quickly throw one at a downed player to instantly eliminate them, saving you precious ammo. When you’re in the middle of fighting multiple enemies, this is huge. Though, if this isn’t your style, you can swap over to Semtex Grenades or even Molotov Cocktails. As for Tacticals, Stun Grenades are great for storming into a room, but the Heartbeat Sensor is fantastic as well.

